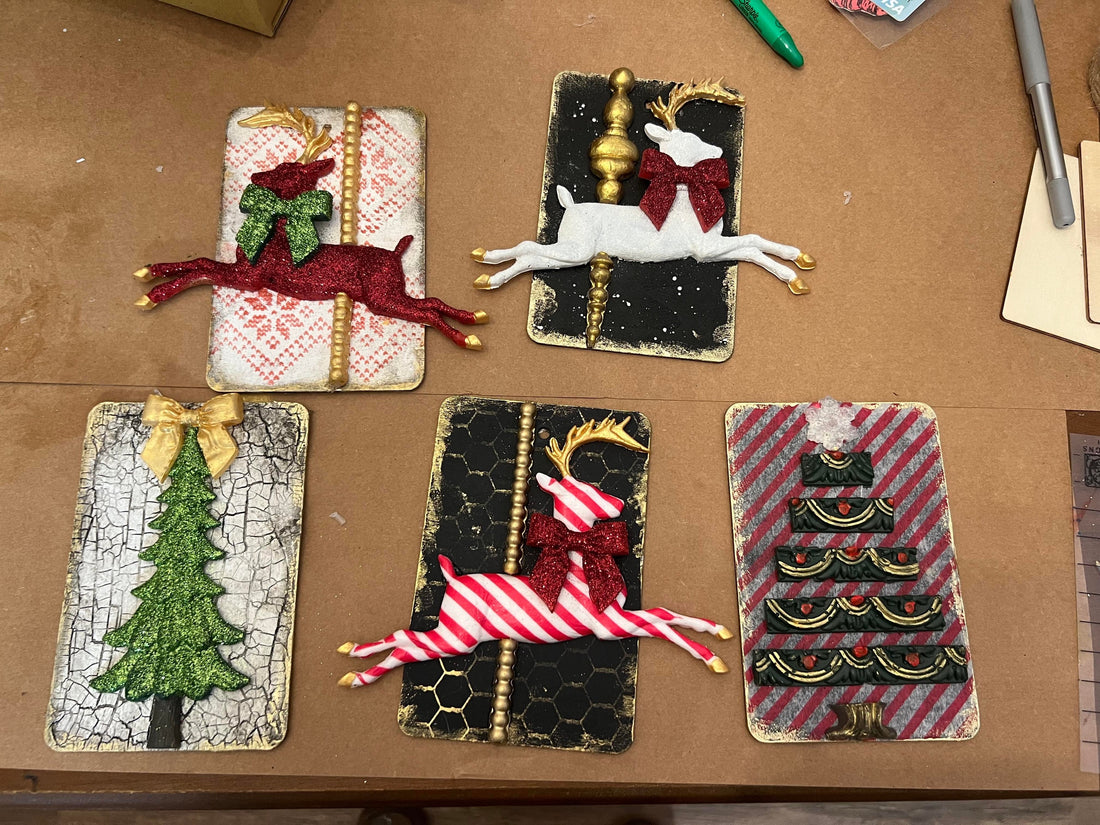
If you're familiar with the world of DIY crafts, then you've probably heard of Iron Orchid Designs. IOD is a company that makes high-quality decorative moulds that can be used for various projects. When it comes to creating your Iron Orchid Design moulds, there are three main methods you can use. In this blog post, we will explore each of these methods in detail and provide tips on how to get the most out of them. Hopefully, these tips will help you create beautiful moulds of your own!
Resin Casting is One Of The Most Popular Techniques for Moulds

Resin casting is one of the most popular techniques for creating Iron Orchid Design moulds. This method involves pouring resin into a prepared mold and allowing it to harden, creating a resin piece with an exact replica of the original shape. The resin can be colored, tinted, or glittered for added effect. To get good results with resin casting, you should use a resin that is specifically designed for moulds, and be sure to follow the instructions provided.
I personally use Amazing Casting Resin. It's a multi-part resin that you mix together and then pour into your moulds. This resin can take about 10-25 minutes to set, depending on the size of the mould.

What I love most about resin is it is the hardest resin for moulds and will outlast other resin types.
It's one of the most popular techniques out there, and although it can be one of the pricier methods, resin castings are well worth the cost in the long run. The biggest advantage of resin is its incredibly sturdy nature – keeping you from having to replace them. If your project is in need of something reliable and made to last, resin casting is an excellent option for your mould needs!

Have You Tried Clay To Make Your Moulds Yet?

Clay is another popular technique for making Iron Orchid Design moulds. This method requires you to use a pliable and bendable clay material that can easily fill into the shape of the mould. I love IOD Air Dry Clay for this technique. I have found it to be the best on the market. Once the shape is complete, you can either bake it in an oven or allow it to air-dry until it's hard enough. It can be a bit messy, but we are all DIYers and used to a good mess!

If you're looking for a more pliable outcome when casting, clay is definitely the way to make your moulds. With clay, it's very straightforward and relatively easy to create things or fix flaws in existing pieces. IOD moulds are popular, and clay really yields a great option. When I choose clay over other casting techniques, if I have a project or piece of furniture that requires my mould to be more flexible to the area, it will be adhered to like the rounded corner of a dresser or table leg. It is even great for creating a detailed frame or panel for your furniture.

So if you've been hesitant to use clay for casting before, don't wait any longer - it's just about the best material out there for a pliable and flexible option for your project!
My New Favorite Technique for Moulds is Hot Glue!

As a southern gal, I'm always looking for quick and easy ways to get things done right. That's why hot glue is my new favorite technique for moulds! It allows me to finish my projects faster than ever before. Hot glue is easy and fast, but it dries quickly too! All I have to do is fill my mould with my hot glue and wait a few minutes before the hot glue sets in and the moulds are ready! This has definitely become the method of choice for making lush decorations without all the fuss.

So, there you have it y'all! Three of the most popular methods for making moulds. Personally, I'm a fan of hot glue because it's so versatile and easily accessible, but I'd love to hear what YOU think. What techniques have your tried? What is new for you? Please share in the comments; I can't wait to read them. If you have any questions, let me know. I am always happy to help in any way that I can.
Happy Casting,
Kathy
