We know it is extremely important to prep your furniture for paint. I will give you 5 tips to paint prep vintage furniture and tell you some of the fails I had to overcome to be successful in this industry. If you follow these tips it should save you a lot of time and frustration. Learn from my mistakes.
Over time furniture gets dirty and dusty and can have a wax buildup and oils. These things will affect your paint if not cleaned properly before painting. It can create texture when you don’t want it, and it can cause paint not to stick properly to the surface. Paint prep is essential.

Tip #1 Wipe inside drawers and on bottom
If the piece has been in storage for a while then you want to wipe all cobwebs and trash off. Open all of the drawers, take them out and wipe them inside and out. After taking out the drawers vacuume the inside of the piece and turn the piece upside down and wipe off the bottom. I can’t tell you the number of times I have seen a piece picked up and be covered in cobwebs on the bottom. YUCK!
Tip #2 Cleaning antique Furniture
There are lots of products on the market for prepping your antique furniture. Most paint lines have a cleaner as well as the large home improvement stores. A lot of furniture painters use TSP. This is a strong chemical based cleaner that strips oils and dirt. But, Fusion offers a great chemical free version called TSP Alternative for anyone who operates a chemical free business, is sensitive to chemicals or wants to use less harsh products and, it’s organic, doesn’t smell and its Phosphate free, and it doesn’t require rinsing. You want a cleaner that doesn’t leave any residue behind and I love not having to rinse! Just mix a couple of capfuls with water and you are good to go.
Tip #3 Make sure your paint sticks
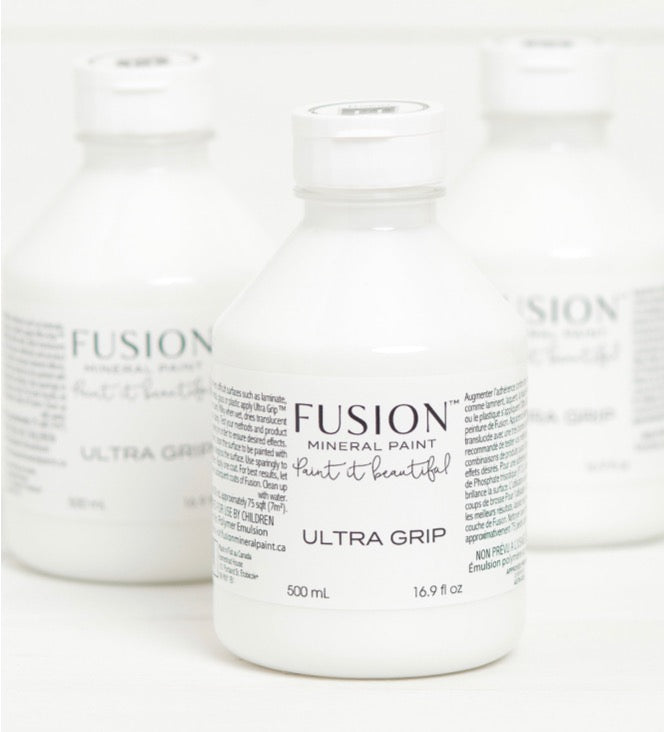
If the piece is shiny or made of prefab material you can lightly sand the surface or you may have to use a gripping primer. Prefab materials or MDF are extremely shiny and slick so you will have to
add a gripping primer. Fusion makes an excellent primer called Ultra Grip. I’ve used this on glass and the paint sticks like glue! Ultra Grip is actually may from pure resin. Trust me you don’t want to finish a piece and find the paint chipping off! (Been there, done that!)
Tip #4 - Is it a bleeder?
This is something you do not want to find out at the end. I have painted pieces and it looks great and then when I put on the topcoat little spots appear. Talk about frustrating! And another coat of paint will not fix the problem. I have painted three coates before and the spots still come to the surface. You do not want to deal with this problem. So, take care of it at the beginning. Prime your piece. Especially if it’s an older piece and the wood is red toned. Better safe than sorry.I generally use Wise Owl Primer or Zinzer Clear Shellac. I just order it off Amazon. But you can also purchase primers at Lowes or Home Depot. And if you do start painting and find your piece is a bleeder you can stop right there and apply primer or shellac. And I would go ahead and apply it to the whole piece just to be sure.
Tip #5 - If Not Painting, Polish Antique Furniture
So, what if you’re not painting your piece but it looks worn and dull? My suggestion is to clean the piece well to begin with. Fusion has several different kinds of wax, Beeswax, clear wax and colored and scented waxes. But my favorite is the Fusion Hemp Oil. It really brings out the wood grain in furniture and gives it a beautiful sheen. Plus it is food safe, so you can use it on cutting boards, counter tops and table tops. Fusion also has a Stain & Finishing Oil that is incredible. The SFO comes in several different shades and conditions your furniture. You can lighten, darken or even give it a barnwood finish with the Stain & Finingh in Driftwood. And it has very little odor.

If you follow these tips, you will have a beautiful painted vintage piece. Take the time to paint prep your vintage furniture and I think you will be happy with the end results. There are three truly important steps to a great piece of vintage furniture. Those are sanding, priming and properly sealing the piece. You will feel extremely confident in piece you have created.

If you would like to learn more about Fusion Paints and Finishing products please join us for our Milk Paint Workshop August 6. If you would like to be in the know of all things Not Too Shabby AL please go to our website and sign up for our email list and get 20% off your first purchase! Also, please like and follow us on Facebook and Instagram. We would love to hear from you! Email us at Support@nottooshabbyal.com
